How to Teach Children the Alphabet: The Sandpaper Letters
Most of us grew up singing the “Alphabet Song” and saying the name of each letter. In this lesson, we’ll throw that all out the window and learn the Montessori way by focusing on the sounds of each letter. Get ready for lot’s of “aaaa’s” and “mmmmm’s” and even more fun! In this blog you will learn how to teach the Sandpaper Letters to your child in an exciting and engaging way.
Target ages: 2 ½ to 4 years old.
| Table of Contents |
| What is the Montessori Method? The Language Area in the Montessori Classroom What is the Purpose of the Sandpaper Letters? Why Cursive? Sandpaper Letters Presentation Conclusion |
What is the Montessori Method?
The Montessori Method follows the child’s interests and needs. Maria Montessori created different areas in the classroom (Practical Life, Sensorial, Math and Language) with specific materials to teach children different skills that will help them in their everyday life.
If you think about a normal school, you would probably imagine a big chalkboard on the wall and all of the students sitting at their desk looking at the teacher. In a Montessori classroom this looks very different. The main difference between a Montessori school and a traditional one is that the teachers give one-on-one lessons, or very small group lessons, and follow the interest of each child. Individual lessons are a great way for teachers to get to know the children and their needs. We use tangible materials that are built to teach specific skills, perfect to catch the attention of the little ones since they are using their hands. Maria Montessori once said: “Movement of the hand is essential. Little children revealed that the development of the mind is stimulated by the movement of the hands. The hand is the instrument of the intelligence”.
In the Montessori classroom, children are also allowed to walk freely in their environment and choose the work they want to do that has been previously presented by the teacher. Seeing children walking around the classroom like this can look a little messy at times, but I like to call it “organized chaos”. Children have a lot of freedom but within set boundaries.
The Montessori Method has been such a big eye opener for me in the way I want to teach and educate my children. I hope it inspires you too!
The Language Area in the Montessori Classroom
When Maria Montessori started teaching children, she had no plans to add a Language area in the classroom. She would tell stories to the children, engage them in conversations and did Three Period Lessons to teach them new vocabulary, but her goal wasn’t to teach them to write or to read. But the parents of those children were illiterate and begged Maria Montessori to teach their children to read. After a lot of observations, the first set of language materials was made!
In the language area, children progress from spoken language exercises to the written language where they use tangible materials (Sandpaper Letters, Movable Alphabet, Metal Insets, etc.) to raise awareness of the sounds that make up each word. Children then move to reading exercises where they learn to decode words and, eventually, sentences. Finally, grammar exercises teach children the function that different words have in a sentence. All of this is possible at such young age because of the hands-on materials Maria Montessori prepared!
What is the Purpose of the Sandpaper Letters?

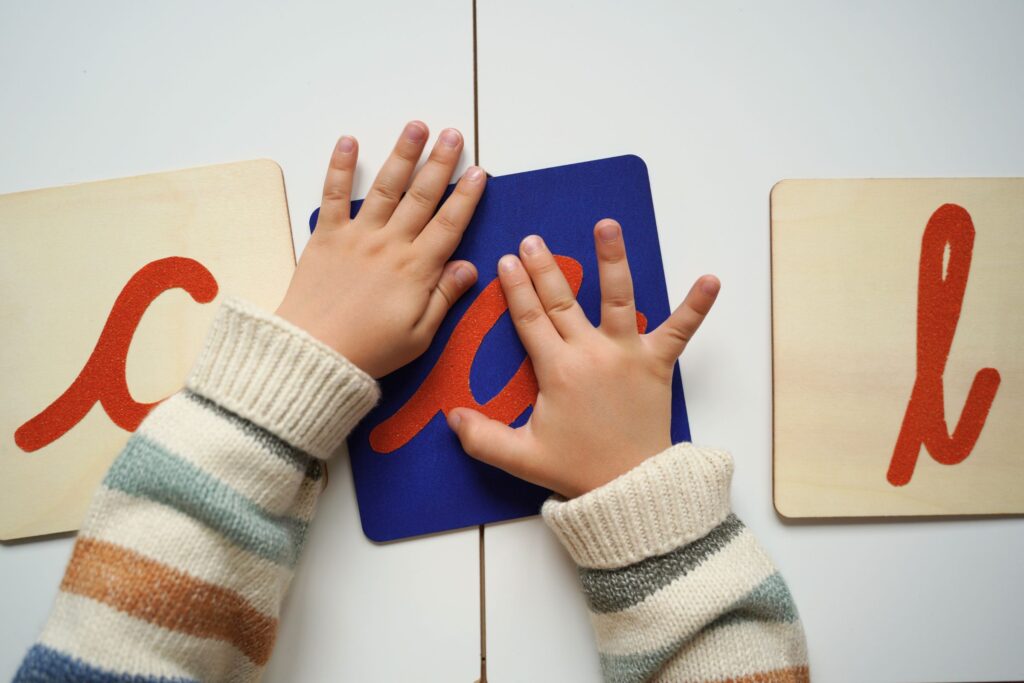
The purpose of Sandpaper Letters is to associate the sound of each letter with its respective symbol (what it looks like). As the child begins memorizing the sounds of each letter, they are also tracing them, not only preparing their mind but also their hand for writing! Check out my other blog where I show you how to make them.
Before introducing the Sandpaper Letters, I want to emphasize how important the spoken language is. The child’s work of writing and reading is built upon the foundation of spoken language. This is why it is so important to engage children in meaningful conversations. Asking them question and getting to know their thoughts gives them the chance to improve their vocabulary. I’ve written another post about different Spoken Language Activities that you can check out to get new ideas!
After your child has had some practice with Spoken Language activities like the Sound Games (a.k.a. “I Spy”), then we can start introducing the Sandpaper Letters. The letters are NOT presented by their names, instead we teach them the sounds that they represent.
Why Cursive?
Great question, right? Who uses cursive anymore anyway!? Well, Maria Montessori recommended that we introduce cursive into writing for a reason. Besides the fact that it’s simply more beautiful, there are developmental reasons why cursive is the best choice for children ages 3 to 6:
- Cursive follows the natural circular movements of the hand. When you see a child with a crayon, they will first start to scribble and their hand will move in a circular pattern. Cursive follows this patter too. Print, on the other hand, requires a lot of stopping and starting and lifting the pencil up and down.
- When writing in cursive, it is very hard to accidentally write letters backwards. Each letter has a start and finish and they are linked in a continuous flow. This can be very useful for children with dysgraphia.
- Each letter has a clear beginning and end, making it easier for the child to connect and identify each of them.
- Children who learn cursive early, tend to have less problems identifying other types of calligraphy like print, gothic or script. However, for those who only learn print they find it more difficult reading cursive later.
- Brain scans show that cursive activates the left and right hemispheres of the brain, something that neither print or typing do. Many studies have also found that students that write in cursive perform generally better on essays and spelling tests.
In the classroom we also have Sandpaper Letters in print to help children transition from cursive to print. Nevertheless, children naturally make that connection when they start reading books or going about their everyday life since most things now are written in print.
Sandpaper Letters Presentation

Preparation: Your child has had a lot of practice with the Sound Games
Materials:
- DIY Sandpaper Letters
- A box to hold the Sandpaper Letter
Age: 2 ½ to 4 years old
Presentation:
- Go to the shelf and introduce the activity to your child: “Today I am going to show you the Sandpaper Letters. Let’s bring them to the table.”
- Sit at the table.
- Stack the letters upside down, one on top of each other, and place them on the right side of the table in front of you.
- Start the lesson with the letter that is on top of your pile. You can say: “I am thinking of some words that start with the sound |l|: Leo, lamp, lion, leopard, leaf. Can you think of some words that start with the sound |l|?” (Remember to only say the sound of the letter, not the name).
- Let your child think of some words: “lollipop!” (If they can’t come up with anything that is fine too).
- Continue: “I am going to show you what |l| looks like”.
- Turn over the letter and put it facing up in front of your child: “This is |l|!”
- Trace the letter with your fingers three times. Say the sound of the letter every time you finish tracing it.
- Invite your child to trace the letter.
- Put |l| aside on the top left of the table and repeat the process with the other two letters.
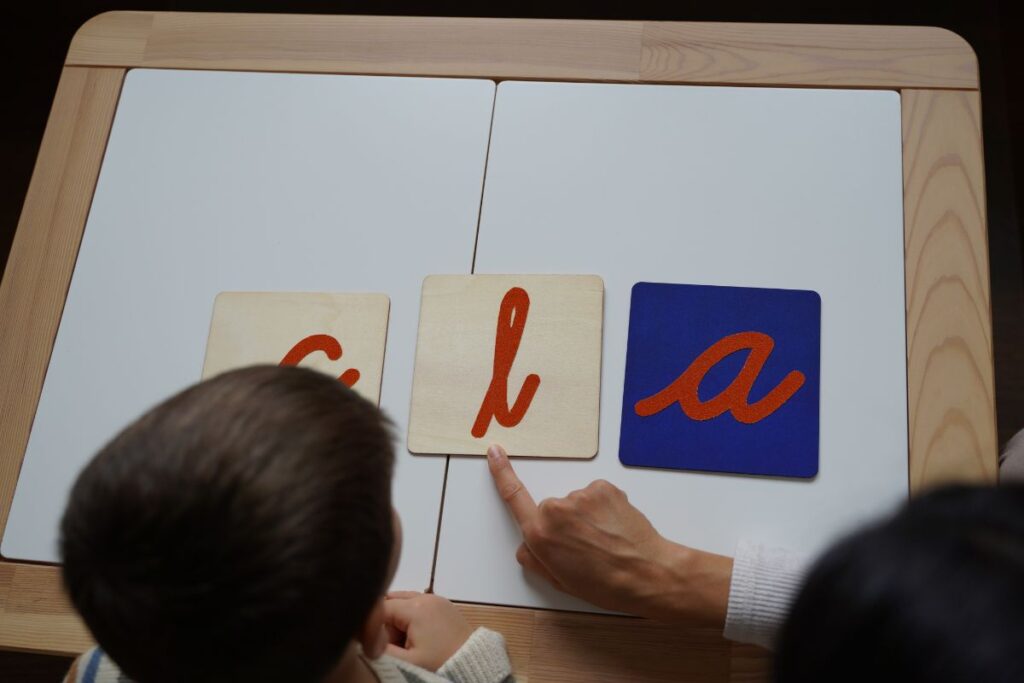
- When done, put the three letters facing up in the center of the table.
- Do a Three Period Lesson:
- Naming: name the three letters for your child as you point at them (“this is |l|“, “this is |m|“, “this is |a|“).
- Recognition: give them different commands so that they can start recognizing the sound of each letter (“give me |l|“, “place |a| on the table”, “point to |m|“, “place |a| on your lap”, etc.). Make it fun!
- Recall: when you see your child feels comfortable recognizing each letter, point to each one of them and ask every time: “what is this?”. Your child will say the sound of each letter. If they can’t remember, you can tell them and try this lesson again another day.
- Close the activity: “You may now trace these letters as many times as you like! And when you are done, you can put them back on the shelf”.
- Fade and observe.
NOTE: If your child is unable to trace the letter correctly, don’t leave them alone to work on it independently. We don’t want them to imprint the wrong way of writing a letter into their muscle memory. If your child can’t trace properly we can:
- Emphasize the starting point
- Re-demonstrate the part your child is struggling with
- Your child’s hands can write on top of yours
- Use a “sand-tray” so that your child can practice tracing the letter on it
Conclusion
There is nothing more satisfactory than seeing your child learning while also having fun and enjoying being with each other. The Sandpaper Letters are such an important material for everything that will come after in relation to Language. If you’ve decided you want to start teaching the sounds of the letters to your child make sure you check out my other blog where I show you how to make the Sandpaper Letters and you will be teaching them in no time!
Affiliate Disclaimer: Some links on this site are affiliate links. If you make a purchase, I may earn a small commission at no extra cost to you. As an Amazon Associate, I earn from qualifying purchases. I only share products I truly recommend.