How to Teach Your Child to Sound Out Words with Montessori Sound Games
“I spy with my little eye…” I am sure you’ve played this game a lot growing up or with your own children during road trips. Well, I bring you a slightly different one but also very entertaining. Maria Montessori called this game “The Sound Games” instead. The Sound Games will teach your child to become aware of the different sounds that make up a word (decoding each sound), preparing them in this way for writing later on! I will show you how to introduce this lesson in a way that is engaging and motivating so your children will want to play over and over again!
Target ages: 2 ½ to 4 years old.
| Table of Contents |
| What is the Montessori Method? The Language Area in the Montessori Classroom The Sensitive Period for Language The Sound Games Presentation Conclusion |
What is the Montessori Method?
The Montessori Method follows the child’s interests and needs. Maria Montessori created different areas in the classroom (Practical Life, Sensorial, Math and Language) with specific materials to teach children different skills that will help them in their everyday life.
If you think about a normal school, you would probably imagine a big chalkboard on the wall and all of the students sitting at their desk looking at the teacher. In a Montessori classroom this looks very different. The main difference between a Montessori school and a traditional one is that the teachers give one-on-one lessons, or very small group lessons, and follow the interest of each child. Individual lessons are a great way for teachers to get to know the children and their needs. We use tangible materials that are built to teach specific skills, perfect to catch the attention of the little ones since they are using their hands. Maria Montessori once said: “Movement of the hand is essential. Little children revealed that the development of the mind is stimulated by the movement of the hands. The hand is the instrument of the intelligence”.
In the Montessori classroom, children are also allowed to walk freely in their environment and choose the work they want to do that has been previously presented by the teacher. Seeing children walking around the classroom like this can look a little messy at times, but I like to call it “organized chaos”. Children have a lot of freedom but within set boundaries.
The Montessori Method has been such a big eye opener for me in the way I want to teach and educate my children. I hope it inspires you too!
The Language Area in the Montessori Classroom
When Maria Montessori started teaching children, she had no plans to add a Language area in the classroom. She would tell stories to the children, engage them in conversations and did Three Period Lessons to teach them new vocabulary, but her goal wasn’t to teach them to write or to read. But the parents of those children were illiterate and begged Maria Montessori to teach their children to read. After a lot of observations, the first set of language materials was made!
In the language area, children progress from spoken language exercises to the written language where they use tangible materials (Sandpaper Letters, Movable Alphabet, Metal Insets, etc.) to raise awareness of the sounds that make up each word. Children then move to reading exercises where they learn to decode words and, eventually, sentences. Finally, grammar exercises teach children the function that different words have in a sentence. All of this is possible at such young age because of the hands-on materials Maria Montessori prepared!
The Sensitive Period for Language
Did you notice how easily children learn new vocabulary? They seem to pick up the language simply by being around it! Children 0 to 6 years old are experiencing what Maria Montessori called the “Sensitive Period for Language”. This means that there will never be a time in your child’s life where it will be so easy for them to assimilate language. We need to take full advantage of this and provide them with the necessary tools to maximize their learning.
The Sound Games Presentation
This lesson is much more fun if you get more children involved so if there are siblings around, bring them along! It doesn’t matter if there is a big gap of age in between your children since you can adapt the different levels of the lesson to each child. There are 4 different levels that your child will be progressing on. Just take your time, make it fun and enjoy learning together!
If you only have one child you can either ask your spose or someone in the family to join the presentation or just do the lesson alone with your child. Either way, I am sure you will all have a great time!
Preparation: None
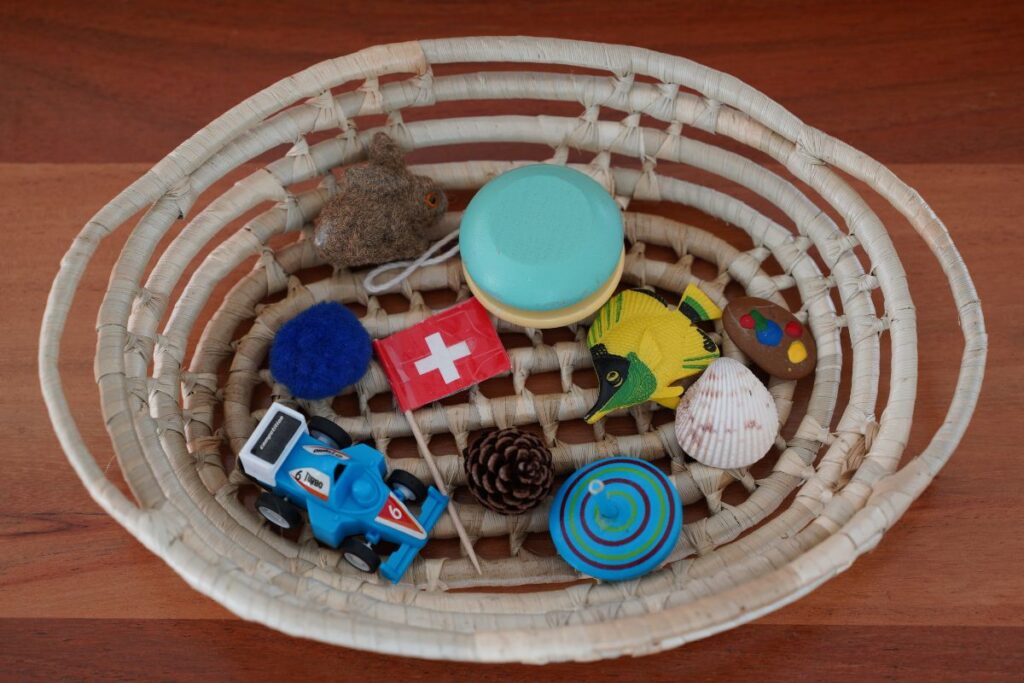
Materials: 10 – 12 small objects on a tray. This material is not left on the shelf. Your child will practice with anything from the environment
Age: 2 ½ and up
Presentation:
Before the lesson, go around your house and select 10 to 12 small objects that you are sure your children know the name of. It is important that your children know the names of all of the objects so that it is easier for them later in the lesson to think about the sounds that make up those names.
Level 1: “Beginning Sounds”
- Invite your children to come to the presentation.
- Sit them in front of you around a rug, with the objects on the tray in the center of the rug.
- Start the exercise: “I’ve brought some objects on this tray that I would like us to work with”.
- Verify that we all agree on the names of the objects being used:
a. Take an object, put it on your hand and ask a child to say the name.
b. Put the objects on the rug as the children name them. - When done, put all of the objects back on the tray and say: “I am going to say some commands, and if you hear your name then you can answer”.
- Pick up two objects and place them on the rug. Say: “I spy with my little eye something on the rug that starts with the sound |a|…, Leo?”
- Your child will name the object: “Apple”.
- Affirm: “I do hear |a| at the beginning of the word apple”
- Replace the object and put a new one.
- Repeat this sequence with the rest of the objects taking turns with each child.
- If a child gives the wrong answer, identify the sound that you hear at the beginning of that object’s name: “Oh, I hear |b| at the beginning of Bell”. And then continue with another child to see if he gets is right.
- Continue as long as the children are interested.
NOTE: When you see the children get comfortable with two objects on the rug, you can bring it up to three or more. Make it fun!
Level 2: “Beginning and Ending Sounds”
This level will be done once the children are responding with confidence at Level 1. Name all of the objects before each exercise, so we all agree on the names of the objects being used.
- Invite your children to come to the presentation.
- Sit them in front of you around a rug, with the objects on the tray in the center of the rug.
- Start the exercise: “I have brought some objects here, you have done this exercise before, but today we are going to do something different. I am going to say some commands, and if you hear your name then you can answer”.
- Take two objects and put them on the rug. These two objects should start with the same sound (for example: Lid and lock”.
- Continue and say: “I spy with my little eye something on the rug that begins with |l| and ends |d|…, Leo?
- Your child will name the object: “Lid”.
- Continue: “Lid. I hear |l| at the beginning and |d| at the end of lid. Good!”.
- Continue with the rest of the objects and let the children respond.
- If your child is having problems identifying these objects, put out two objects that start with a different sound.
- Continue as long as the children are interested.
NOTE: If the children need some more challenge, have them identify the object from the tray.
Level 3: “Identifying Another Sound in the Word”
Follow the same steps as in Level 2, but this time also ask your child if they can hear another sound in the word they are saying. For example:
- You: “I spy with my little eye something on the rug that begins with |l| and ends with |d|…, Leo?
- Your child will name the object: “Lid”.
- Continue: “Lid s the name of that object, lid! I hear |l| at the beginning and |d| at the end; do you hear any other sound?”
- The child will say the sound he hears: “|i|”.
NOTE: If your child is having problem identifying these sounds we will repeat the word so that they can hear the sound again or just go back to Level 2 to practice more.
Level 4: “Identify All of the Sounds of the Word in Order”
To teach this level, follow the same steps as in Level 2, but this time ask your child if they can tell you all of the sounds they hear from that word in order. For example:
- You: “I spy with my little eye something on the rug that begins with |l| and ends with |d|…, Leo?”
- Your child will name the object: “Lid”.
- Continue: “Lid is the name of that object, lid! I hear |l| at the beginning and |d| at the end; can you tell me all of the sounds that you hear in that word in order?”
- Your child will say all of the sounds: “|l| |i| |d|”.
- Repeat: “|l| |i| |d| those are all of the sounds for lid!”.
NOTE: If your child is having problem identifying these sounds we will repeat the word so that they can hear the sound again or just go back to Level 3 to practice more.
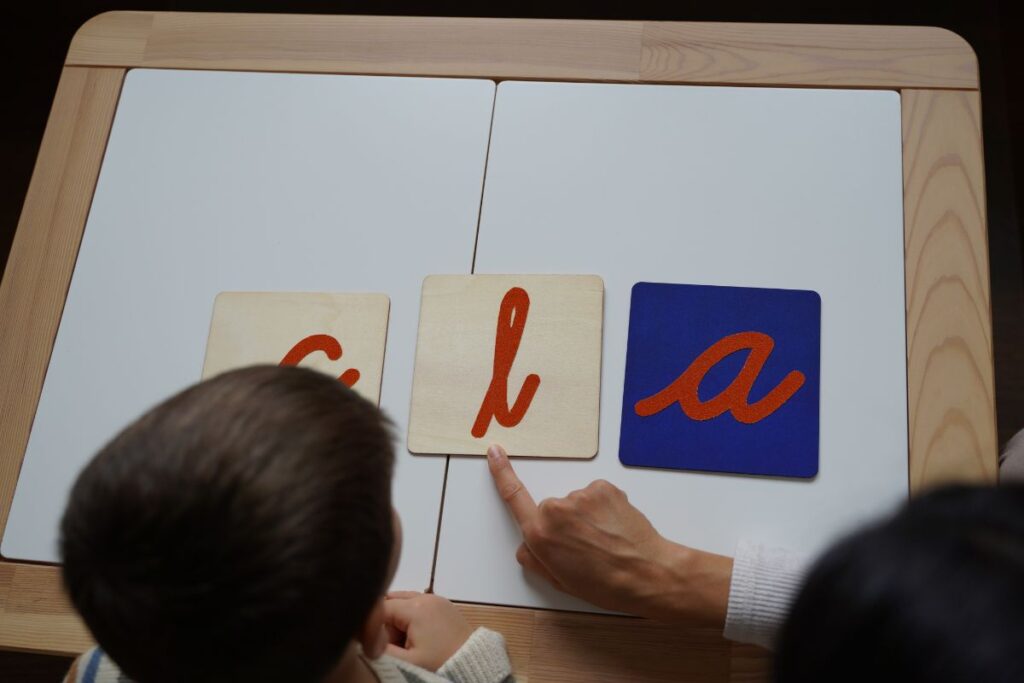
Conclusion
The Sound Games are so important, if you can play with your children every day I would really suggest that. They are a great and fun resource to help children decode words in order to write! This lesson is perfect to practice along with the Sandpaper Letters. As they decode the sound of words they will also learn with the Sound Paper Letters what each sound looks like. I have two blogs teaching you how to make them and how to introduce them to your child, so make sure to check those out too!