
How To Make DIY Montessori Sandpaper Numbers
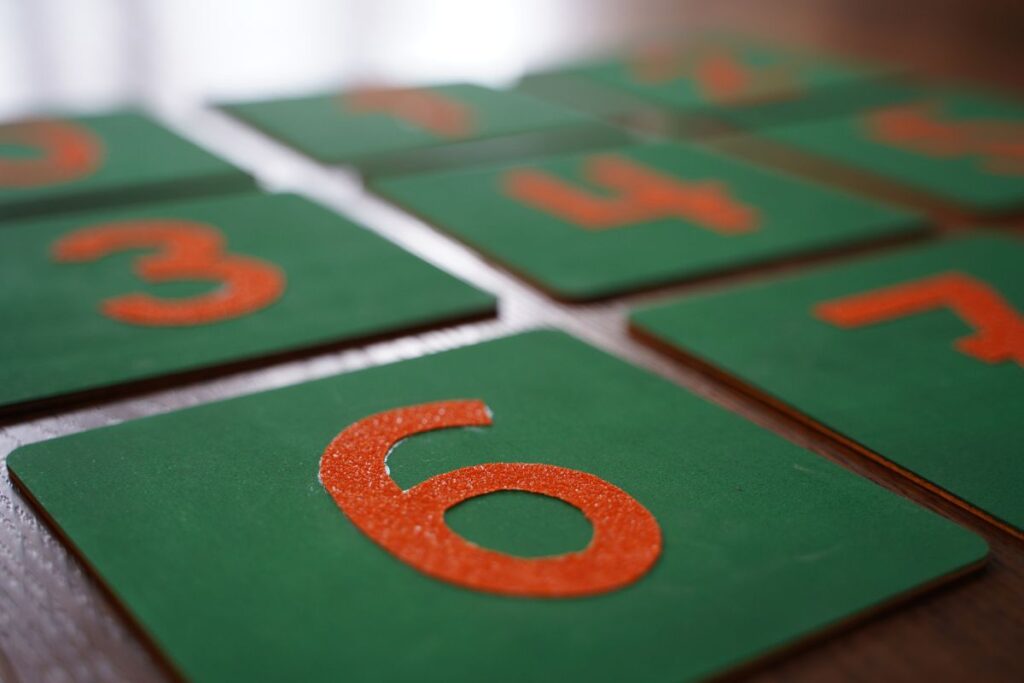
Children learn best through their senses and the Montessori Sandpaper Numbers are a wonderful example of hands-on learning in action. With this activity, children explore numbers through touch, sight, and hearing, building a strong foundation for future math skills.
In this post, you’ll learn how to make your own Sandpaper Numbers at home using simple materials. Plus, you can download a free printable Sandpaper Number Template at the end of this post to help you get started.
Target ages: 3 ½ to 4 ½ years old.
| Table of Contents |
| What is the Montessori Method? What is the Math Area in Montessori? The Mathematical Mind Quantity Before Symbol How to Make DIY Montessori Sandpaper Numbers Conclusion |
What is the Montessori Method?
The Montessori Method follows the child’s interests and needs. Maria Montessori created different areas in the classroom (Practical Life, Sensorial, Math and Language) with specific materials to teach children different skills that will help them in their everyday life.
If you think about a normal school, you would probably imagine a big chalkboard on the wall and all of the students sitting at their desk looking at the teacher. In a Montessori classroom this looks very different. The main difference between a Montessori school and a traditional one is that the teachers give one-on-one lessons, or very small group lessons, and follow the interest of each child. Individual lessons are a great way for teachers to get to know the children and their needs. We use tangible materials that are built to teach specific skills, perfect to catch the attention of the little ones since they are using their hands. Maria Montessori once said: “Movement of the hand is essential. Little children revealed that the development of the mind is stimulated by the movement of the hands. The hand is the instrument of the intelligence”.
In the Montessori classroom, children are also allowed to walk freely in their environment and choose the work they want to do that has been previously presented by the teacher. Seeing children walking around the classroom like this can look a little messy at times, but I like to call it “organized chaos“. Children have a lot of freedom but within set boundaries.
The Montessori Method has been such a big eye opener for me in the way I want to teach and educate my children. I hope it inspires you too!
What is the Math Area in Montessori?
Since mathematics can be a challenging subject for young children, Maria Montessori transformed abstract concepts into concrete materials that children could see, touch, and manipulate.
Through her carefully designed lessons, children explore numbers from 0 to 10, the decimal system, the four operations (addition, subtraction, multiplication, and division), fractions, and much more—all before the age of six! The fact that such young children can grasp these complex ideas speaks to the brilliance of the materials she created.
Maria Montessori often said that “the hand is the instrument of the mind”, emphasizing her belief that learning happens through purposeful, hands-on experience.
The Mathematical Mind
Whenever you are crossing the street, buy something at a store, scheduling your time or measuring ingredients to make a meal, you are using your mathematical mind. Mathematics is not just found in books but in the world that surrounds us. Maria Montessori said that our mind is mathematical by nature. We are all born with a mathematical mind that have the following abilities:
- Curiosity and interest, which leads to investigation.
- An awareness of the world that leads us to observe everything around us.
- The ability to reason and make judgements.
- The ability to make order out of chaos.
- Organize and classify information.
- The ability to complete a task through repetition, exactitude and precision.
Screens and technology have put to sleep a lot of this innate abilities that we are born with. We should be conscious on how we use them with our children so that we make sure their spark for investigation, exploration and curiosity is still there!
Quantity Before Symbol
It is not uncommon for children to know the name of the numbers by memory, but that does not mean they understand the quantity that is associated with those numbers.
Maria Montessori prepared different materials to understand this abstract concept of numbers to children. The first lesson she created for this was the Number Rods. The Number Rods introduce children to the quantity of each number (e.g.: “two is a bigger quantity than one”) in a concrete and tactile way. After this, we will teach the Sandpaper Numbers (symbol) for our children to learn what every number looks like. The materials that follow after that will reinforce the learning of the quantity and symbol together (like the Number Rods with Numerals, Spindle Boxes, Cards and Counters or the Memory Game of Numbers).
When we teach the numbers to our children in this way, we create a strong foundation for more complicated and abstract math in the future.
How to Make DIY Montessori Sandpaper Numbers
Materials:
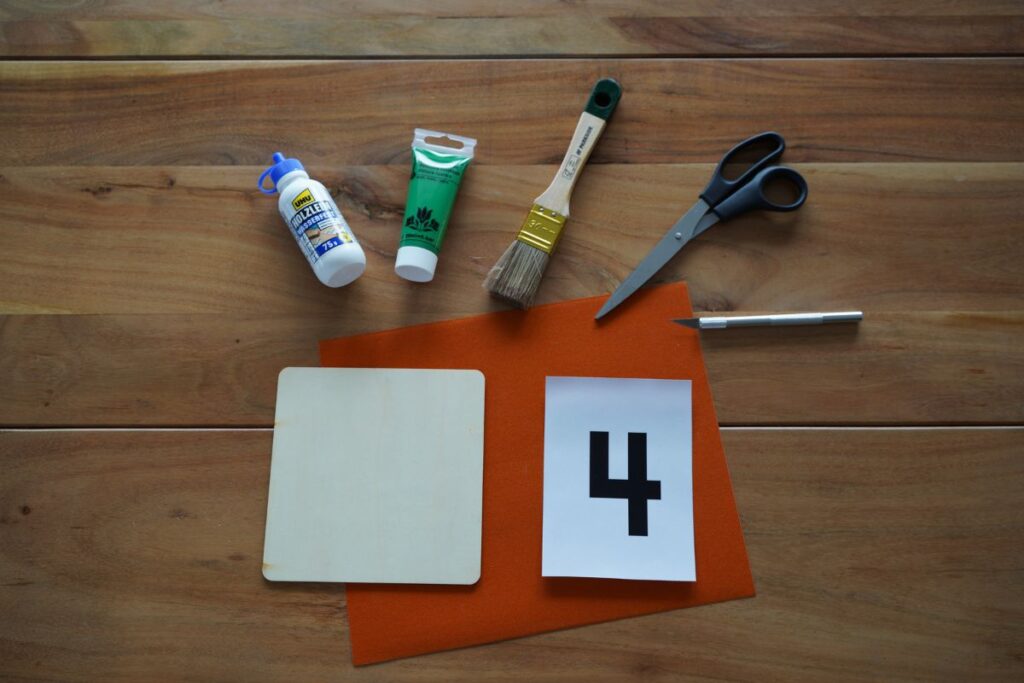
- Sandpaper Numbers Template (numbers 0 to 9)
- 26 wood panels (15 cm x 15 cm or 6″ x 6″)
- 220 grit sandpaper sheets
- Scissors
- Exacto knife or utility knife
- Wood glue
- Green paint (optional)
- Small paint roller (optional)
Age: 3 ½ to 4 ½ to years old
Instructions:
1. Paint 10 wood panels green. This is optional, although it will make your numbers pop up more. Let them dry.

2. Print the Sandpaper Numbers Template and cut each number.

3. Place the cut-out numbers backwards onto the smooth side of the sandpaper and trace them with a pencil.
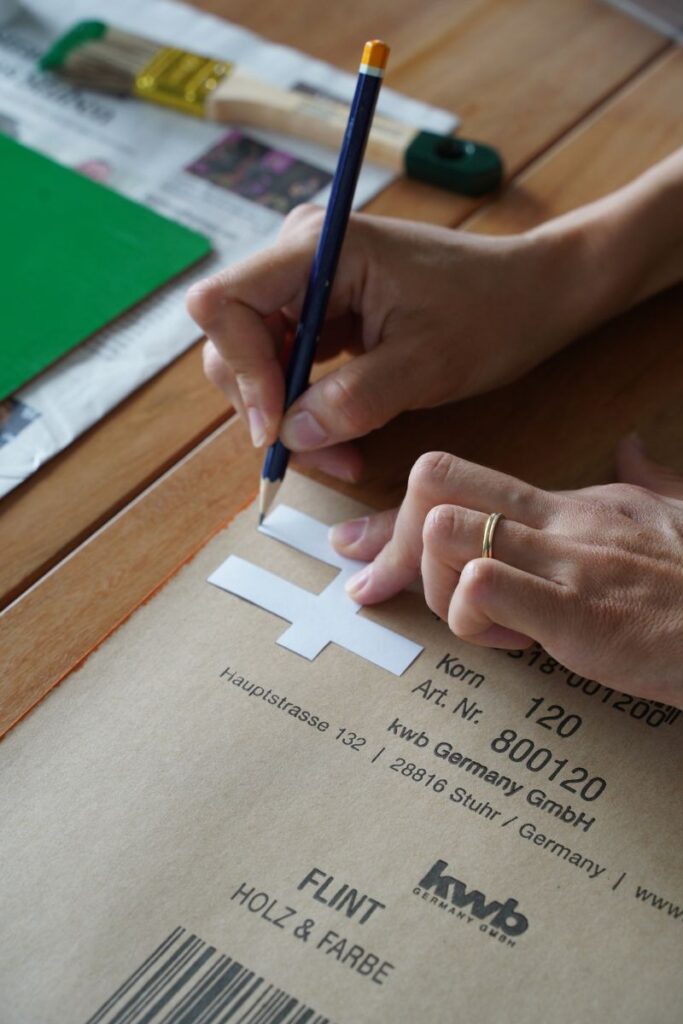
4. Cut them all with an exacto knife or scissors.

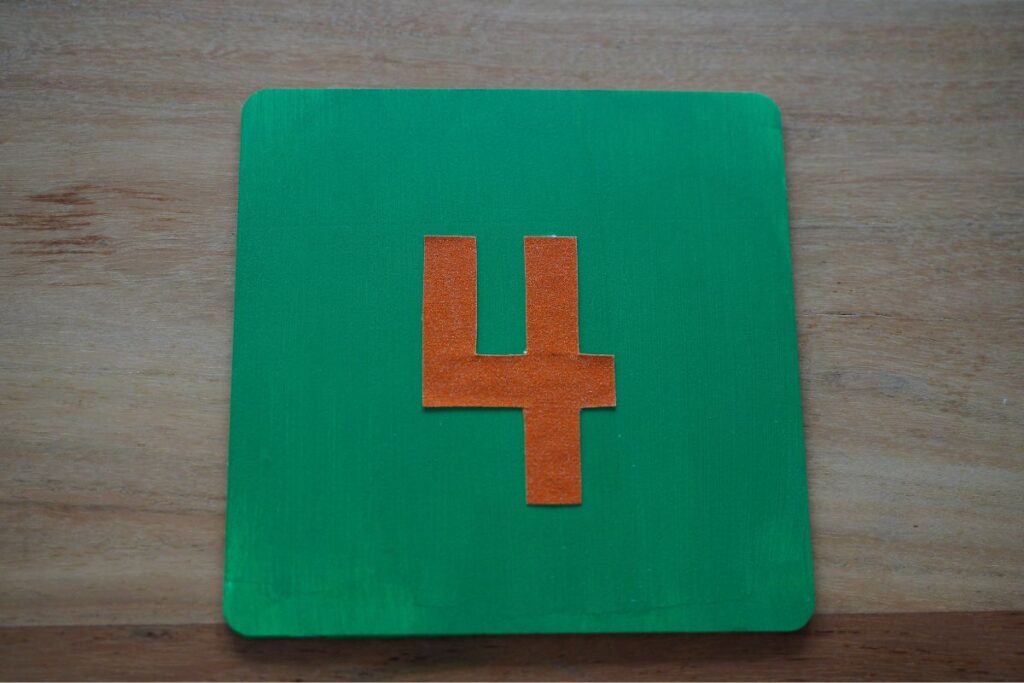
5. Glue each Sandpaper Number on the smooth side and place it into the center of each wood panel using wood glue.
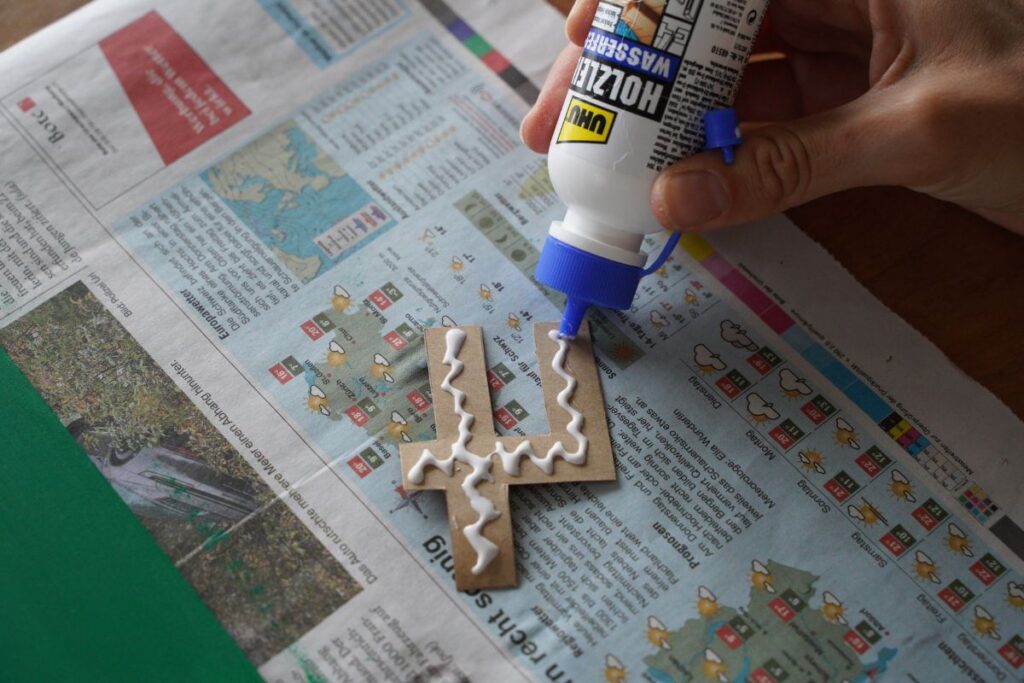
You are done!
Conclusion
Learning the numbers doesn’t need to be boring. Making the Sandpaper Numbers at home will give your children the opportunity to learn the numbers in an engaging and fun way! Download your Sandpaper Number Template here!
Affiliate Disclaimer: Some links on this site are affiliate links. If you make a purchase, I may earn a small commission at no extra cost to you. As an Amazon Associate, I earn from qualifying purchases. I only share products I truly recommend.
Sandpaper Numbers Template
How To Make DIY Montessori Sandpaper Numbers
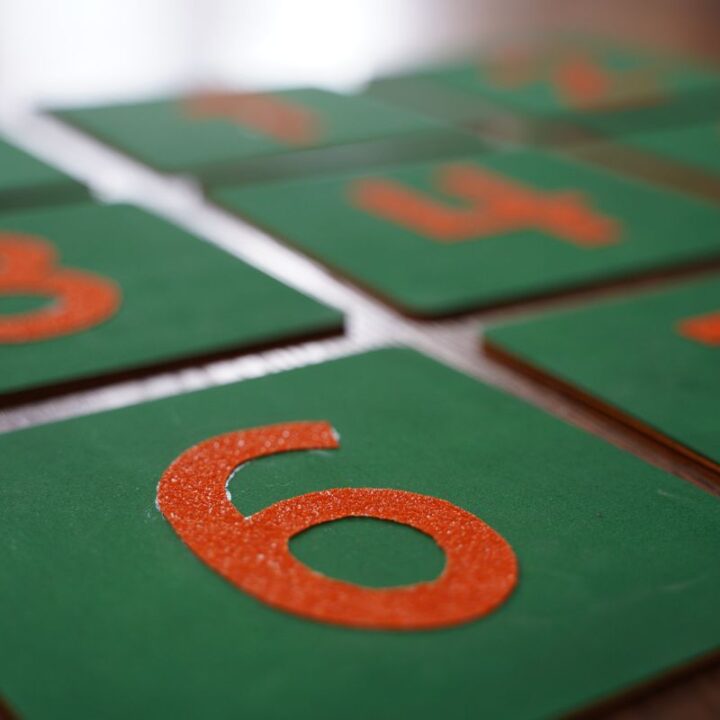
Children learn though their senses. With the Sandpaper Numbers, your children will be learning the numbers through touch, sight and hearing. In this DIY you will learn how to make your own Sandpaper Numbers at home. You can download the printable template of the Sandpaper Numbers and a tracking sheet below to follow the progress of your child or students!
Target ages: 3 ½ to 4 ½ years old.
Materials
Instructions
- Paint 10 wood panels green. This is optional, although it will make your numbers pop up more. Let them dry.
- Print the Sandpaper Numbers Template and cut each number.
- Place the cut-out template numbers backwards onto the smooth side of the sandpaper. Remember, the numbers need to be backwards!
- Trace the numbers with a pencil onto the smooth side of the sandpaper (the back side) and cut them all with an exacto knife or scissors.
- Glue each Sandpaper Number on the smooth side and place it into the center of each wood panel using wood glue. You are done!
Notes
Print and use the tracking sheet to follow the progress of your child or students!
Wood panels: I've got 50 of them on Amazon (link above) and I used them for both the Sandpaper Numbers and the Sandpaper Letters.
