
How to Use Montessori Classified Picture Cards
How many times a day do you hear the question, “Mommy, what is that?” Children ages 0–6 are in the Sensitive Period for Language, a time when their minds absorb vocabulary effortlessly. This is the perfect stage to nurture their love for words and discovery.
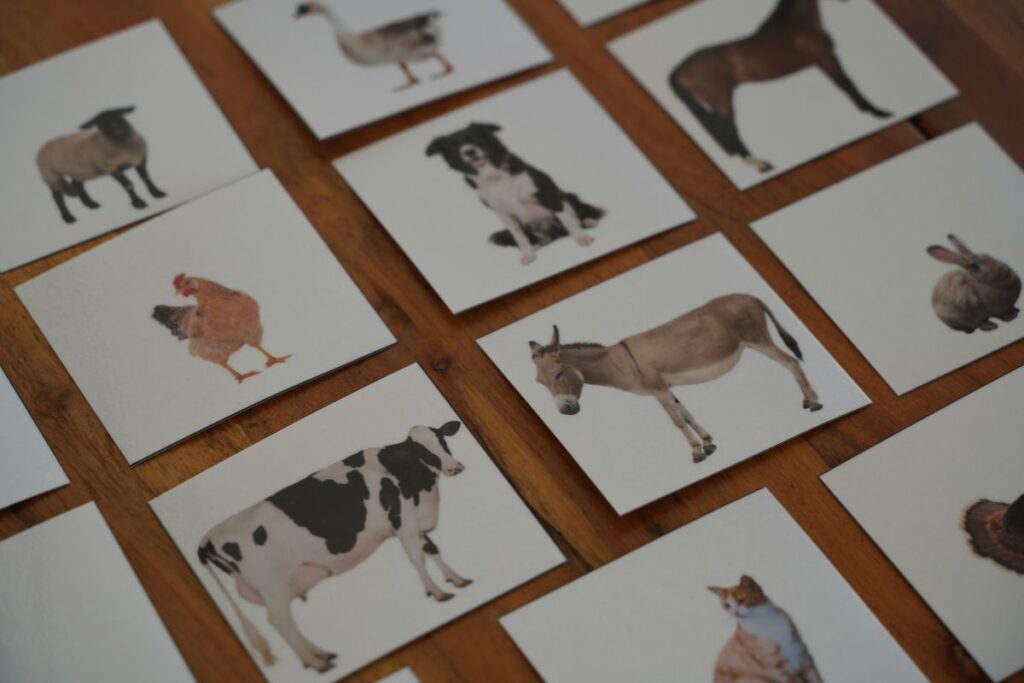
For this, Maria Montessori created what are called “Classified Pictures.” These are picture cards of various topics (farm animals, school supplies, insects, bedroom furniture, etc.). Classified Picture Cards help your child expand their vocabulary and learn more about the world around them. They teach new words and help children organize their language.
In this post, you will learn how to use our Classified Pictures Cards so that you can start teaching new vocabulary to your child today!
Target ages: 2 ½ and up.
| Table of Contents |
| What is the Montessori Method? The Language Area in the Montessori Classroom The Sensitive Period for Language How to Use Classified Picture Cards Conclusion |
What is the Montessori Method?
The Montessori Method follows the child’s interests and needs. Maria Montessori created different areas in the classroom (Practical Life, Sensorial, Math and Language) with specific materials to teach children different skills that will help them in their everyday life.
If you think about a normal school, you would probably imagine a big chalkboard on the wall and all of the students sitting at their desk looking at the teacher. In a Montessori classroom this looks very different. The main difference between a Montessori school and a traditional one is that the teachers give one-on-one lessons, or very small group lessons, and follow the interest of each child. Individual lessons are a great way for teachers to get to know the children and their needs. We use tangible materials that are built to teach specific skills, perfect to catch the attention of the little ones since they are using their hands. Maria Montessori once said: “Movement of the hand is essential. Little children revealed that the development of the mind is stimulated by the movement of the hands. The hand is the instrument of the intelligence”.
In the Montessori classroom, children are also allowed to walk freely in their environment and choose the work they want to do that has been previously presented by the teacher. Seeing children walking around the classroom like this can look a little messy at times, but I like to call it “organized chaos”. Children have a lot of freedom but within set boundaries.
The Montessori Method has been such a big eye opener for me in the way I want to teach and educate my children. I hope it inspires you too!
The Language Area in the Montessori Classroom
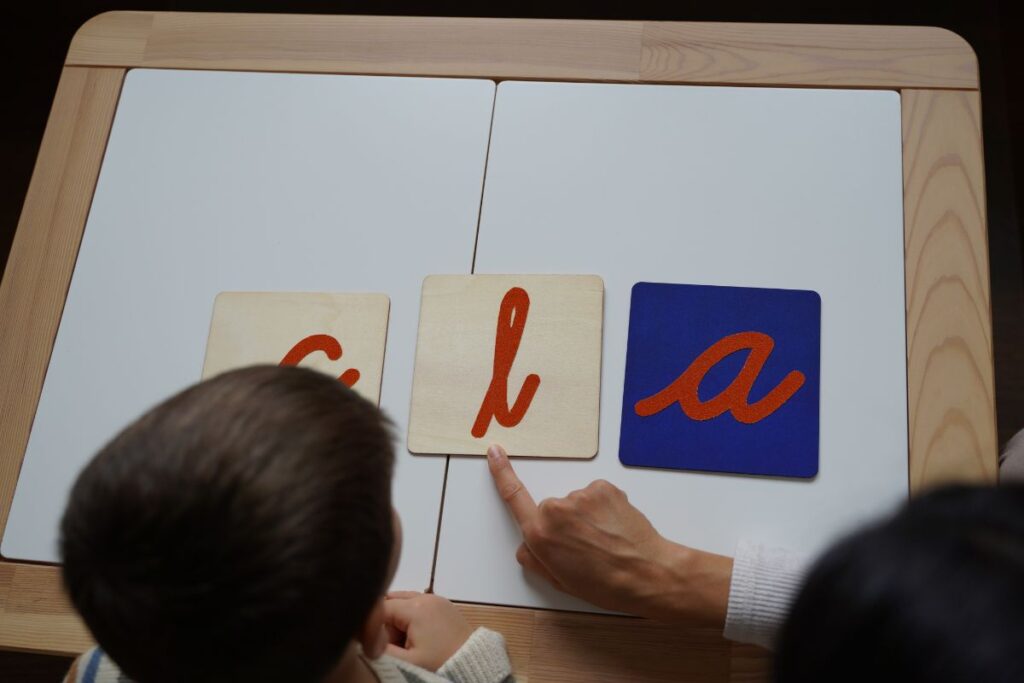
When Maria Montessori started teaching children, she had no plans to add a Language area in the classroom. She would tell stories to the children, engage them in conversations and did Three Period Lessons to teach them new vocabulary, but her goal wasn’t to teach them to write or to read. But the parents of those children were illiterate and begged Maria Montessori to teach their children to read. After a lot of observations, the first set of language materials was made!
In the language area, children progress from spoken language exercises to the written language where they use tangible materials (Sandpaper Letters, Movable Alphabet, Metal Insets, etc.) to raise awareness of the sounds that make up each word. Children then move to reading exercises where they learn to decode words and, eventually, sentences. Finally, grammar exercises teach children the function that different words have in a sentence. All of this is possible at such young age because of the hands-on materials Maria Montessori prepared!
The Sensitive Period for Language
Did you notice how easily children learn new vocabulary? They seem to pick up the language simply by being around it! Children 0 to 6 years old are experiencing what Maria Montessori called the “Sensitive Period for Language.” This means that there will never be a time in your child’s life where it will be so easy for them to assimilate language. We need to take full advantage of this and provide them with the necessary tools to maximize their learning.
How to use Classified Picture Cards
Depending on the age of your child, there are two different presentations you can give them to introduce the Classified Picture Cards.
Presentation 1: Using only the picture cards

For this presentation we will only use the picture cards, with no labels, to teach your child new vocabulary. This presentation is normally done with younger children, ages 2 ½ and up, and is very affective at teaching and categorizing language.
Example of a presentation:
- Take a set of picture cards and introduce the classification to your child: “These are pictures of…”.
- Sit down at the table.
- Show your child each picture, one by one, and ask them to name them. As we are showing the cards, we will put the ones the child knows in a pile and the ones they don’t know in another pile.
- Choose up to 3 cards your child doesn’t know and do a Three Period Lesson:
- Naming: name the 3 cards for your child as you point at them (“this is duck”, “this is horse”, “this is goat”).
- Recognition: give them different commands so that they can start recognizing the name of each picture (“give me duck”, “place horse on the table”, “point to goat”, “place horse on your lap”, etc.). Make it fun!
- Recall: when you see your child feels comfortable recognizing each picture card, point to each one of them and ask every time: “what is this?”. Your child will say the name of each picture. If they can’t remember, you can tell them and try this lesson again another day.
- If there are a lot of cards your child doesn’t know, you can show them 3 more afterwards.
- Invite your child to mix up all the cards and name them as many times as they would like.
- Fade and observe.
Following Exercise:
- Two Classifications: Take two sets of cards that your child is already familiar with. Mix the two sets of cards and invite the child to sort them out into their classifications (for example: farm animals and ocean animals). When they are done make sure that your child puts the cards in their correct grouping.
Presentation 2: Using the pictures, labels and control cards (Three Part Cards)
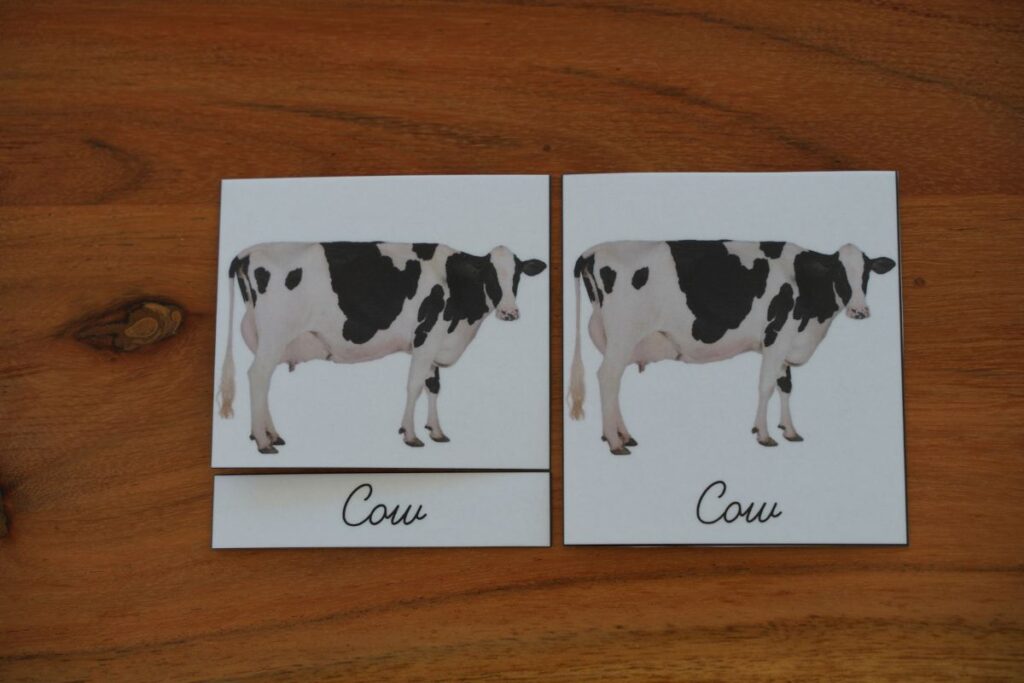
For this presentation we will use the picture cards with detached labels and the control cards with the name attached. All together these are called “Three Part Cards”. You will want to organize each set of these Three Part Cards in individual envelopes or containers to separate them by categories. This activity is for children that are already reading, ages 4 and up.
Example of a presentation:
- Take a set of Three Part Cards and introduce them to your child: “We have some envelops here with some cards. Today we are going to work with this one. Can you take it to the rug?”.
- Sit down at the rug or carpet.
- Open the envelop and take out only the picture cards (with no labels).
- Put them in a pile, facing down.
- Ask your child to take each card, one by one, and name them. If they don’t know some names, we can just tell them since this time we are focusing on reading.
- Show your child how to put the cards in a vertical line on the rug.
- Open the envelop again and take out the labels.
- Place the labels in a pile, facing down.
- Invite your child to take each label, one by one, read it and place it under the corresponding picture.
- Open the envelop one last time and take out the control cards (picture cards with label attached).
- Place the control cards in a pile, facing down.
- Invite your child to take each control card, one by one, and to compare its picture and name to the picture and label we previously matched, to see if they got them right. (If your child comes across a word that they had set in the wrong place, they can put that label down on the bottom of the rug. When they are done matching all the cards, they can correct themselves using the control cards, when need it).
- When your child is finished, invite them to mix the labels and control cards and do this exercise as many time as they want. They can also clean up their work and choose a different envelop to work with.
- Fade and observe.
Conclusion
The Classified Picture Cards are a great material for your child to expand their vocabulary and develop language and reading skills. But most of all, they help children understand the world around them and the environment they live in. Explore our collection of Montessori Classified Picture Cards and start enriching your child’s language today!
