Pressing Leaves and Flowers: Beautiful Fall Activity for Kids
Fall is a great opportunity to get out with your children and do a nature walk to see how the landscape is changing around them. This Pressing Leaves and flowers activity is a beautiful way to embrace the coming season and spend some time outside with your little ones. Whether you’re new to leaf pressing or it’s already a fall tradition in your home, this guide will walk you through everything you need to get started, step by step. Grab a basket, a warm jacket and find beautiful changing color leaves and flowers to press with your child!
Target ages: 2 ½ and up.
| Table of Contents |
| Children Need Time Outdoors Why Leaf and Flower Pressing? Step-by-Step: How to Press Leaves and Flowers Ideas for Using Pressed Leaves and Flowers Conclusion |
Children Need Time Outdoors
Nature promotes a healthy body and mind. Maria Montessori believed that time spent outdoors supports not only physical development, but also cognitive, social, and emotional growth. Being in nature helps children feel connected to their environment and fosters a deep appreciation for the beauty around them.
Whenever I take a walk in nature with my children, I notice the calm it brings. There’s a special kind of peace that settles over them as they explore freely — touching, smelling, listening, and observing. Through these rich sensory experiences, they aren’t just playing — they’re also learning!
Why Leaf and Flower Pressing?
Leaf and flower pressing isn’t just a charming seasonal craft — it’s also a gateway into science, art, and nature study. It helps children:
- Practice patience and fine motor skills
- Observe seasonal changes
- Learn plant names and parts
- Create lasting art from their own discoveries
And perhaps most importantly: it invites wonder.
Step-by-Step: How to Press Leaves and Flowers
Pressing leaves and flowers is a simple way to slow down and enjoy the season. It doesn’t take much, just a few supplies, a short walk, and a little curiosity. Here is what you’ll need:
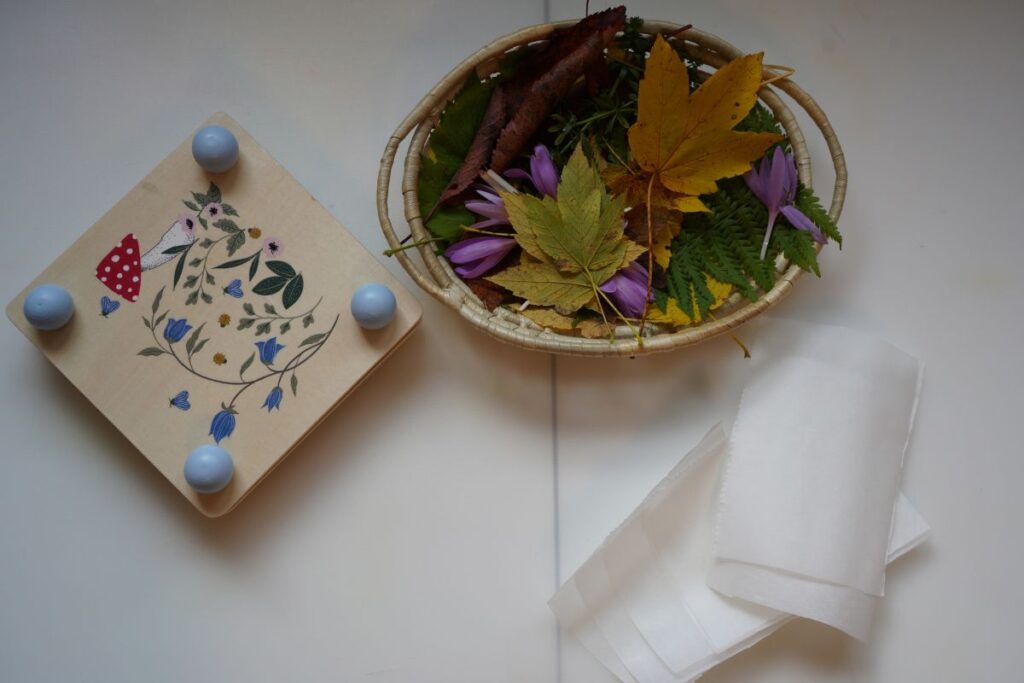
Materials:
- Plant Press (you can purchase one or create your own using cardboard).
- Parchment paper (optional, to put in between the cardboard).
- A collection of freshly picked leaves and flowers.
Age: 2 ½ and up.
Activity:
- Head Outside Together
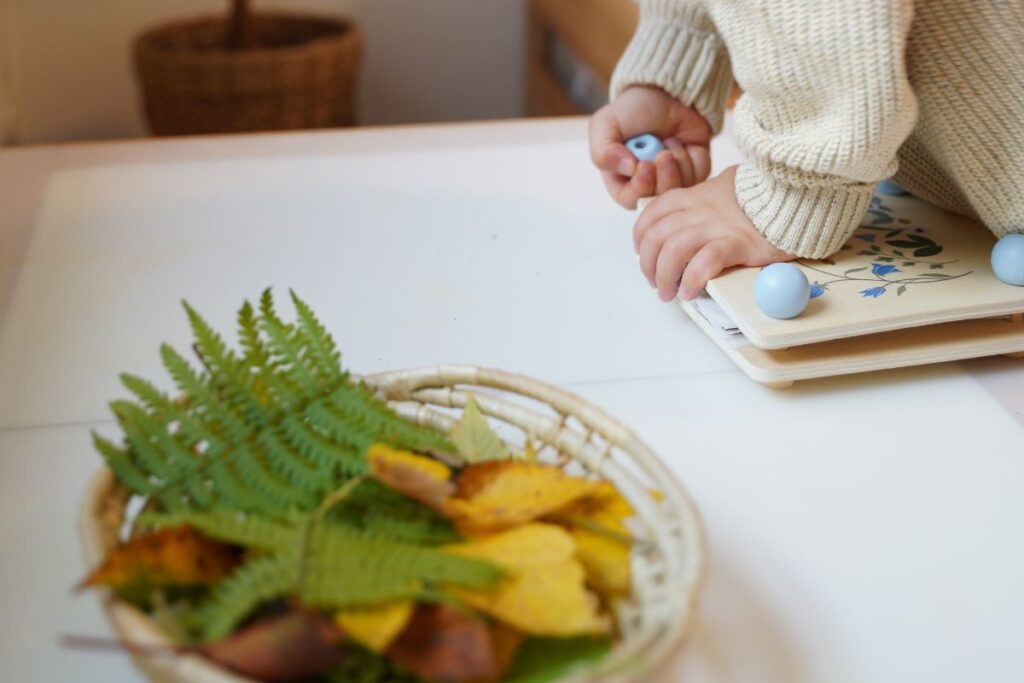
Go on a walk with your child. Invite them to choose leaves or flowers that catch their eye — look for vibrant colors, interesting shapes, or textures. This is a great time to talk about the trees, the season, and how plants change in fall. This is also a good opportunity to teach them to respect nature by only taking what you need, and never from protected areas. - Open the Plant Press
Loosen the screws and take off the top board. - Make a paper sandwich
- First, put a piece of cardboard on the bottom.
- Then, put a piece of parchment paper on top.
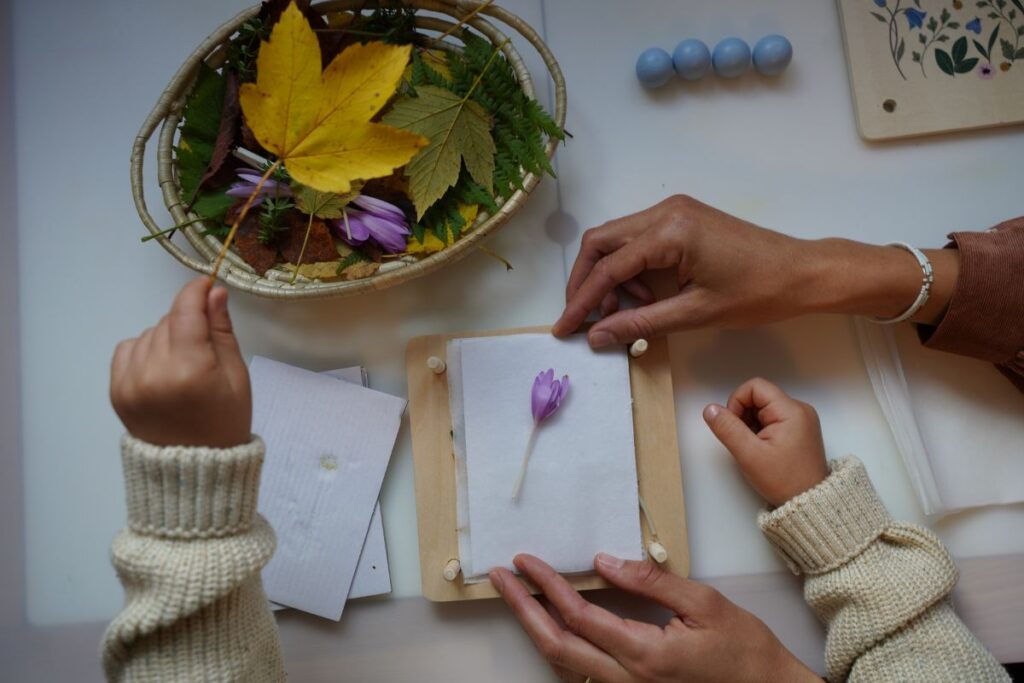
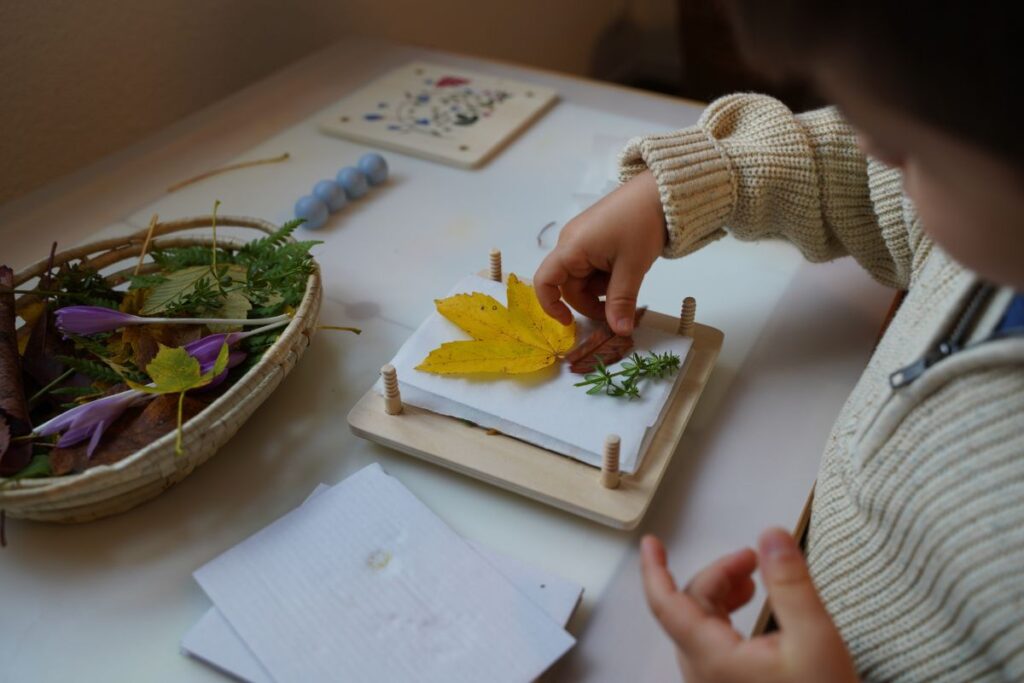
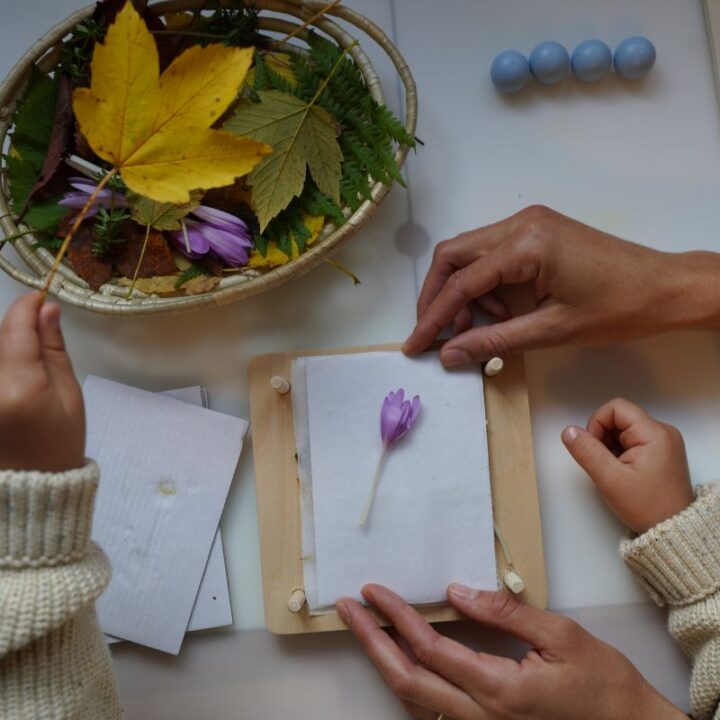
- Arrange Your Leaves and Flowers
Lay the flowers and leaves flat on the paper. Try not to overlap them so they press nicely. Encourage your child to take their time — this helps with concentration and care. - Cover them
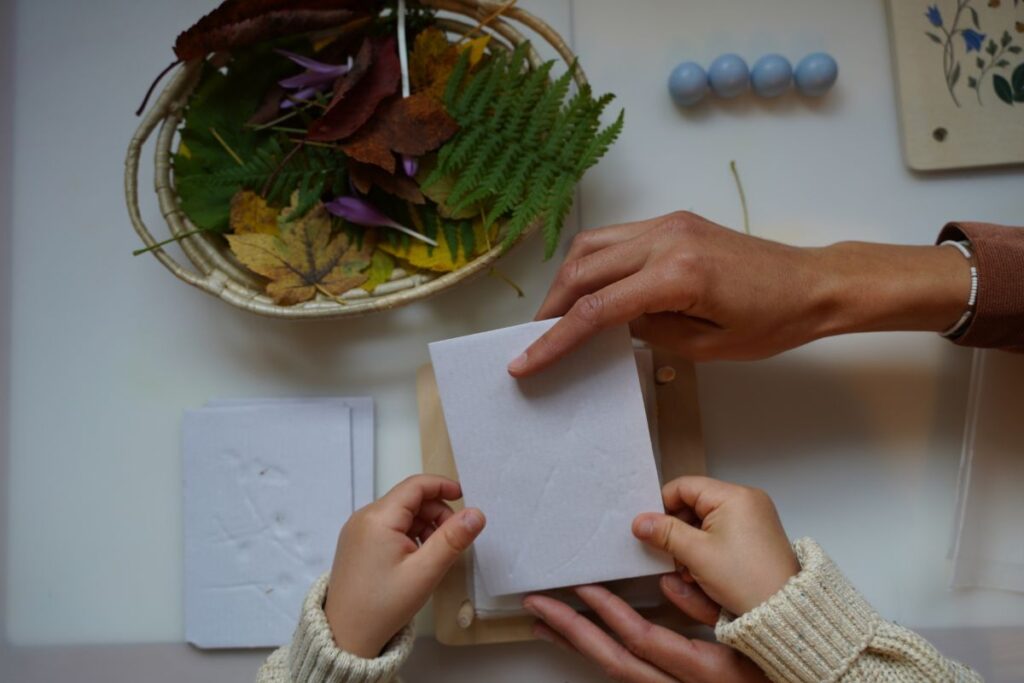
Put another piece of paper on top, then a piece of cardboard. - Repeat if you want
You can make more layers with more cardboard, paper and plants. - Close the press
When finished, put the top board back on, line up the holes, and tighten the screws. If you made your own Plant Press, just put some heavy books on top of the cardboard to put weight on the plants. - Wait and check
Leave your flower press in a dry spot for about 1–3 weeks. When you open it, your plants will be flat, dry, and ready to use!
Ideas for Using Pressed Leaves and Flowers
Once dry, your pressed plants can be used in all kinds of creative ways:
- Make homemade cards
- Create seasonal wall art
- Start a nature journal
- Label and learn plant names
- Make a bookmark
- Use them in Montessori botany work
- Create a collage
- Make a decorative lamp
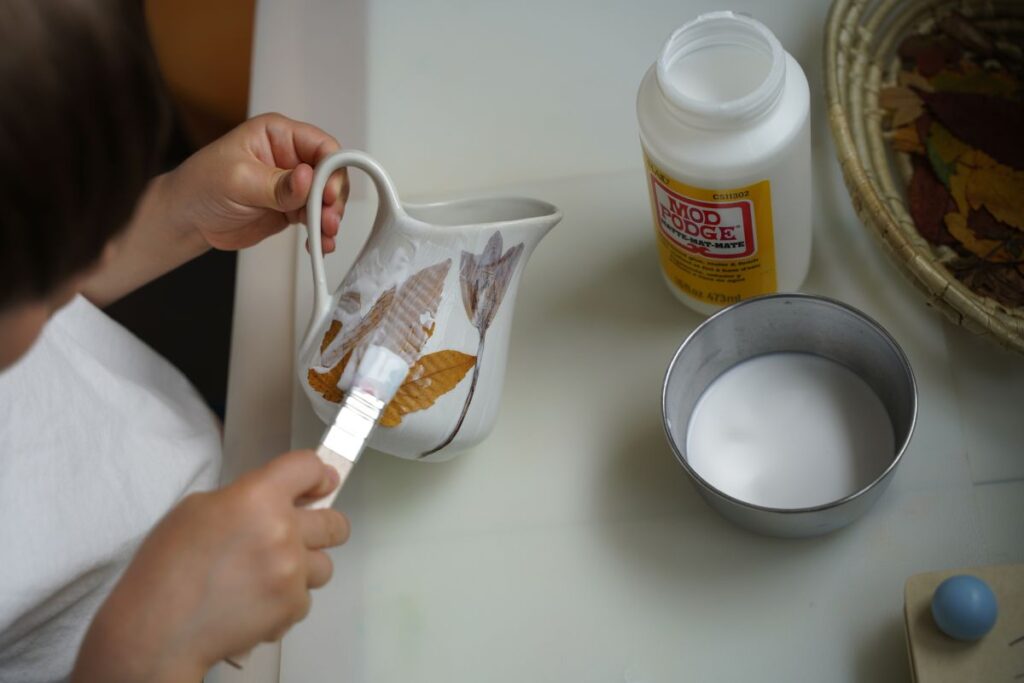
- Glue them into ceramic with a water base sealer like Mod Podge
Conclusion
Pressing leaves and flowers is a quiet joy — a moment of stillness in the busyness of fall. With just a few simple materials and a curious spirit, you and your child can create lasting memories from the world just outside your door. So go ahead: take a walk, gather a few treasures, and press some leaves together to enjoy all season long.
Pressing Leaves and Flowers: Beautiful Fall Activity for Your Little Ones
Fall is a great opportunity to get out with your children and do a nature walk to see how the landscape is changing around them. This Pressing Leaves and flowers activity is a beautiful way to embrace the coming season and spend some time outside with your little ones. Whether you're new to leaf pressing or it's already a fall tradition in your home, this guide will walk you through everything you need to get started, step by step. Grab a basket, a warm jacket and find beautiful changing color leaves and flowers to press with your child!
Target ages: 2 ½ and up.
Materials
- Plant Press (you can purchase one or create your own using cardboard).
- Parchment paper (optional, to put in between the cardboard).
- A collection of freshly picked leaves and flowers.
Instructions
- Head Outside Together: Go on a walk with your child and invite them to choose leaves or flowers that catch their eye — look for vibrant colors, interesting shapes, or textures.
- Open the Plant Press: Loosen the screws and take off the top board.
- Make a paper sandwich: First, put a piece of cardboard on the bottom. Then, put a piece of parchment paper on top.
- Arrange Your Leaves and Flowers: Lay the flowers and leaves flat on the paper. Try not to overlap them so they press nicely.
- Cover them: Put another piece of paper on top, then a piece of cardboard.
- Repeat if you want: You can make more layers with more cardboard, paper and plants.
- Close the press: When finished, put the top board back on, line up the holes, and tighten the screws. If you made your own Plant Press, just put some heavy books on top of the cardboard to put weight on the plants.
- Wait and check: Leave your flower press in a dry spot for about 1–3 weeks. When you open it, your plants will be flat, dry, and ready to use!
Notes
Once dry, your pressed plants can be used in all kinds of creative ways:
- Make homemade cards
- Create seasonal wall art
- Start a nature journal
- Label and learn plant names
- Make a bookmark
- Use them in Montessori botany work
- Create a collage
- Glue them into ceramic with a water base sealer like Mod Podge
Recommended Products
As an Amazon Associate and member of other affiliate programs, I earn from qualifying purchases.